What to Consider Before Installing Weatherboards on Your Home
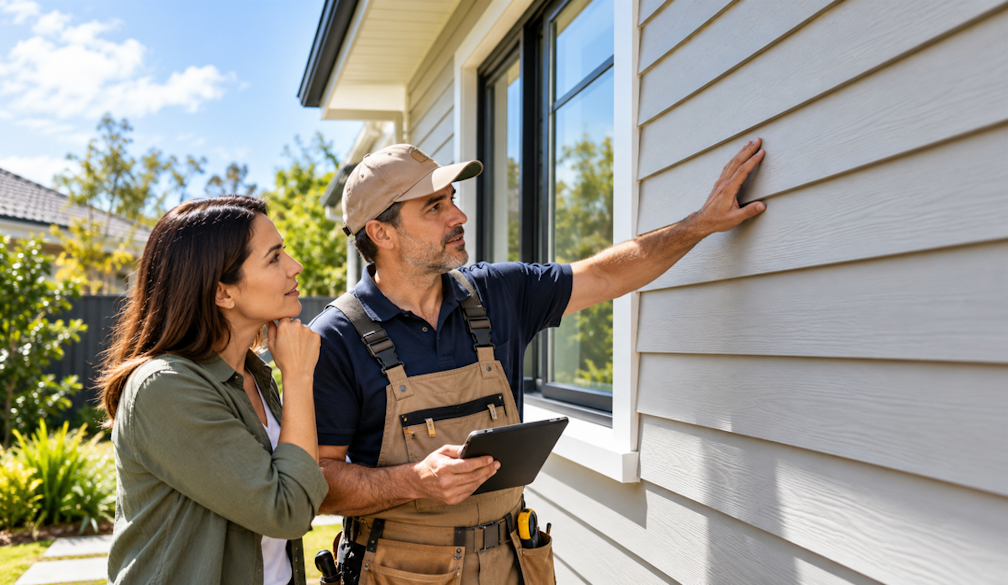
A home’s exterior does more than create a first impression. It protects the building from the elements, influences indoor comfort, and contributes to the property’s long-term value. Choosing the right cladding is therefore an important decision for homeowners planning a new build or renovating an existing property. Weatherboards remain a popular option because they offer a distinctive appearance, flexible design possibilities, and a finish that can complement both traditional and contemporary architecture.
However, a successful installation depends on more than selecting an attractive profile. Factors including material quality, local climate, wall preparation, moisture management, maintenance, and installation costs all deserve careful consideration. Understanding these elements before work begins can help homeowners avoid unnecessary expenses and achieve an exterior that performs well for years.
1. Choose a Style That Complements Your Home
The appearance of your exterior cladding should work with the overall architecture of the property. Weatherboards create strong horizontal lines that can make a building appear wider and give it a welcoming, established character. They are particularly suited to cottage-inspired homes, coastal designs, heritage renovations, and contemporary houses seeking a more textured facade.
The profile you choose will influence the final result. Smooth boards provide a clean, understated finish, while textured surfaces introduce depth and character. Wider boards can create a more modern appearance, whereas narrower profiles often suit traditional architectural styles.
Consider the roof shape, window proportions, exterior trim, and surrounding landscape before making a decision. A weatherboard profile that looks attractive in a product photograph may appear quite different across a large wall or under changing natural light.
It is worth obtaining physical samples and viewing them against your home's existing finishes. Check how the material looks in bright sunlight, shade, and different weather conditions. This simple step can help you make a more confident decision about the colour, texture, and overall design.
2. Select Materials That Suit Your Needs
Material selection affects durability, appearance, maintenance requirements, and installation costs. Timber weatherboards offer natural character and can be painted to suit changing design preferences. Other cladding materials may provide different advantages in terms of weight, maintenance, and resistance to environmental conditions.
Homeowners comparing options should examine the manufacturer's specifications, warranty conditions, and recommended installation methods rather than relying on appearance alone.
For those exploring Australian-made timber cladding, Weathertex offers a range of weatherboards in different profiles, textures, and finishes. Its product range includes traditional horizontal boards alongside contemporary cladding options, giving homeowners flexibility when matching materials to their architectural plans.
Before choosing a product, check its suitability for your building type, local climate, exposure conditions, and applicable building requirements. Ask about the expected service life, painting requirements, available accessories, and whether the warranty depends on specific installation practices.
A material that suits a sheltered suburban home may require a different installation approach from one exposed to strong coastal winds or frequent driving rain. Comparing these practical considerations early can help you balance appearance with long-term performance.
3. Assess Your Local Climate and Exposure
Weather conditions have a direct influence on how exterior cladding performs. Rainfall, humidity, ultraviolet exposure, wind, temperature fluctuations, and salt carried through coastal air can all affect a building's exterior.
In areas that experience heavy rainfall, moisture management should be a priority. Water must be directed away from vulnerable joints, windows, doors, and the base of the wall. Properly designed flashings, suitable membranes, and carefully detailed openings help reduce the risk of water entering the wall structure.
Homes in hot, sunny regions also need materials and finishes appropriate for prolonged ultraviolet exposure. Paint quality, colour choice, and maintenance intervals can influence how well the facade retains its appearance.
For properties in bushfire-prone areas, check the applicable bushfire attack level requirements and confirm that the proposed cladding system is permitted for the specific building and location. Product suitability can depend on the complete wall assembly, not just the exterior board itself.
Wind exposure is another important consideration, particularly in elevated, coastal, and cyclone-prone locations. Fixing patterns, framing, fasteners, and installation details must match the relevant requirements for the site.
Consult a qualified building professional when local conditions introduce requirements that go beyond standard residential construction.
4. Prepare the Existing Walls Properly
Even high-quality cladding can underperform if it is installed over an unsuitable surface. Before installing weatherboards during a renovation, inspect the existing walls and framing for signs of deterioration, moisture damage, uneven surfaces, or structural movement.
Any underlying problems should be addressed before the new exterior is fitted. Covering damaged timber or an existing moisture problem may conceal the issue temporarily, but it can lead to expensive repairs later.
The wall frame must provide an appropriate fixing surface, with spacing and alignment consistent with the selected product's installation instructions. Uneven framing can create visible inconsistencies across the facade, while inadequate fixing support may affect the stability of the boards.
Existing windows, doors, roof edges, service penetrations, and external fixtures also need attention. Their position and detailing may need adjustment to accommodate the new cladding thickness and finished wall dimensions.
For a renovation, ask the installer to explain what preparation work is included in the quote. Repairing framing, replacing damaged materials, and modifying openings can add to the overall cost, so identifying these requirements before installation helps prevent unexpected variations.
5. Plan for Moisture Control and Ventilation
Moisture management is one of the most important aspects of a durable cladding system. Rainwater can enter through poorly detailed junctions, while water vapour generated inside a home can contribute to condensation within the wall assembly.
A suitable wall system should account for both sources of moisture. Depending on the product and building design, this may involve a vapour-permeable membrane, cavity battens, drainage pathways, ventilation provisions, and correctly installed flashings.
A cavity can create space behind the cladding that helps manage incidental moisture and supports drying. However, the correct arrangement depends on the chosen product, wall construction, climate, and relevant technical requirements.
Pay particular attention to the base of the wall. Cladding should maintain the specified clearance from the ground and paved surfaces, and it should not be installed in direct contact with soil. The required clearances vary by product and site conditions, so follow the manufacturer's instructions and applicable building regulations.
Do not assume that sealant alone will provide adequate protection. Durable moisture control depends on the complete wall design, including how water is collected, redirected, and allowed to escape.
6. Understand the Full Installation Cost
The price of weatherboards is only one part of the project budget. Labour, framing preparation, membranes, battens, fixings, flashings, corner details, paint, access equipment, and waste disposal can all contribute to the final cost.
Request itemised quotes that explain which materials and services are included. Comparing quotes on the basis of total project scope is more useful than choosing a contractor solely because their initial price is lower.
It is also important to consider the complexity of the building. A simple rectangular house may be relatively straightforward to clad, while a property with multiple storeys, intricate rooflines, bay windows, and numerous openings will generally require more cutting, detailing, and labour.
Installation methods can influence efficiency, but the chosen system must remain appropriate for the building and product. Avoid shortcuts that compromise framing support, moisture management, or fixing requirements.
Set aside a contingency for unexpected repairs, particularly when working on an older home. Once existing cladding is removed, previously hidden damage may become visible. A realistic budget gives you room to address these issues without sacrificing the quality of the finished exterior.
7. Check Installation Expertise and Compliance
Weatherboard installation requires careful attention to alignment, joint placement, fastening, and finishing details. Small inconsistencies can become noticeable across an entire facade, particularly where boards meet corners, windows, and doors.
Choose a contractor with relevant exterior cladding experience and ask to see examples of completed projects. A reliable installer should be willing to explain the proposed installation method, identify potential site challenges, and confirm how the work will meet the product manufacturer's requirements.
Before work starts, establish who is responsible for permits, inspections, and compliance with applicable building codes. Confirm that the proposed cladding system is suitable for the building classification, framing type, wind exposure, and any bushfire-related restrictions.
Homeowners considering a do-it-yourself installation should assess their skills honestly. Some products can be installed with standard carpentry tools, but accurate cutting, safe work practices, moisture detailing, and compliance with technical instructions remain essential.
Follow the manufacturer's current installation manual rather than relying on general advice or instructions intended for another product. Keep relevant product documentation, receipts, and warranty information for future maintenance or property transactions.
8. Consider Painting and Long-Term Maintenance
The finished appearance of weatherboards depends partly on how the surface is prepared and maintained. Some products arrive primed and require a suitable topcoat after installation, while natural or unprimed options may have different finishing requirements.
Confirm the recommended paint type, preparation process, drying conditions, and number of coats before work begins. Using incompatible coatings or neglecting exposed edges may reduce the quality and longevity of the finish.
Maintenance requirements depend on the material, coating, location, and exposure to sunlight and moisture. Coastal homes and properties with strong sun exposure may need more frequent inspections than houses in sheltered environments.
Periodically inspect the facade for peeling paint, damaged boards, failed sealant, blocked drainage paths, or signs of water entry. Addressing small issues early can help prevent more extensive repairs.
It is also sensible to retain leftover paint details, product specifications, and installation records. These make future touch-ups and repairs easier, particularly if the original finish is discontinued or the property changes ownership.
Make a Confident Decision Before Installation
Installing weatherboards can transform a home's appearance, but the best results come from careful planning rather than choosing a product based on looks alone. Material suitability, climate, wall preparation, moisture control, installation quality, budget, and maintenance all influence the performance of the finished exterior.
Start by identifying the style you want, then compare products against the practical demands of your property. Review manufacturer guidance, obtain detailed quotes, and ensure the proposed wall system meets relevant building requirements.
Taking the time to assess these factors before work begins can reduce costly surprises and help create an exterior that complements your home while providing dependable protection for years to come.


 Business Daily Media