How to Maximise Your Chances of Getting Your Full Bond Back
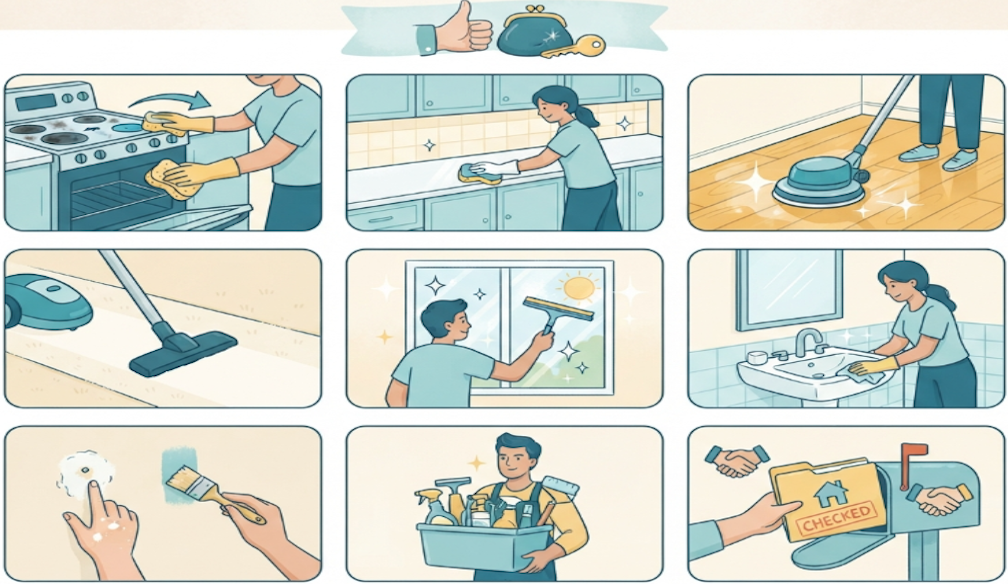
Moving out sounds easy on paper until you’re standing in an empty, echoing apartment at 11 p.m., wondering why you own so many heavy items.
Your bond, which is usually a small fortune sitting in someone else’s bank account, is the only thing standing between you and a clean break.
The good news is that getting every cent back isn’t as impossible as it sounds. You just need a solid game plan to handle your property manager and their dreaded clipboard.
Check the Condition Report
Your entry condition report is the single most important document in this whole process, so dig it out before you do anything else. You want to compare the property’s current state against the original report and the photos taken when you moved in.
This will tell you exactly what you’re responsible for and what was already there when you arrived. After all, you shouldn’t be paying to fix a scuff mark that predates your tenancy by half a decade.
If you can’t find your copy, just contact your property manager or real estate agent and ask for one. Go room by room, be thorough, and note anything that looks different from when you first walked through the door.
Review Your Lease
Once you’ve looked at the condition report, pull out your lease and read it.
We know it’s not a page-turner. But you need to check for specific rules about professional carpet cleaning or pest control. These requirements usually apply regardless of how clean the place looks to the naked eye.
It’s easy to miss a single clause, but that one oversight can lead to deductions that feel completely unfair when the property is otherwise spotless.
To make sure you don’t miss anything, double-check the fine print instead of relying on your memory from three years and seven rent increases ago. Look closely at the special conditions at the back of the agreement, as that’s where these requirements tend to hide.
Don’t Leave Cleaning Until Moving Day
Now you know what’s expected of you, it’s time to clean the place, and the trick here is to start early.
End-of-lease cleaning always sounds manageable until you open the oven and realise it’s been developing its own ecosystem since 2022. So, give yourself at least a week, especially if you’re doing it yourself.
Property managers across Australia tend to zero in on the same spots every time: grimy kitchens, dirty grout, spotty windows, and dusty skirting boards.
If you’d rather not spend your final days before the move scrubbing grease off your oven, it’s a good idea to bring in a professional Sydney end-of-lease cleaning service. Most come with a bond-back guarantee, which takes a massive weight off your shoulders.
Repair Minor Damage Before the Inspection
After you’re done cleaning, walk through the property and look at it the way your landlord would.
Small issues like loose door handles, nail holes from your gallery wall, or tiny chips in the paint are easy to ignore when you live there. But they can quickly cause deductions during the final inspection if your landlord is particularly thorough.
Fortunately, Bunnings has everything you need to fix these yourself. Grab some Spakfilla for the holes and a touch-up paint pen for the scuffs.
While these fixes can take some time to complete, handling them yourself is much cheaper than letting your landlord hire a tradie on your behalf.
Spruce up the Garden and Outdoor Areas
Before you pat yourself on the back and call it a day, don’t forget about the outside areas. In Australia, property managers pay a lot more attention to gardens than you’d expect, especially during summer when grass seems to grow an extra five centimetres overnight.
So, you’ll want to mow the lawn, pull the weeds, and trim back any hedges that have gone rogue.
And if your lease said you had to look after the plants and a few of them didn’t survive the heat, just replace them before the inspection.
Return All Keys and Accessories
Before you get too deep into the final preparations, gather every single item that came with the property.
This includes all key sets, garage remotes, swipe cards, and any appliance manuals that were sitting in the kitchen drawer when you moved in.
It sounds obvious, but these things have a habit of hiding in junk drawers, old bags, or at the bottom of a random box. Property managers often price a missing garage remote like it’s a rare treasure, so track everything down early to avoid large deductions.
Take Photos Before You Leave
Once the place is empty and glowing, do a final walkthrough and take photos of everything. You want a clear shot of every room, every appliance, and the garden. Make sure your phone is recording the time and date on the files, too.
These photos are your ‘receipts.’ If a property manager claims a wall was damaged or the bathroom was dirty after you left, you’ll have the evidence to prove otherwise.
It’s a tiny bit of extra effort that can save you a massive headache if a dispute pops up later.
Attend the Final Inspection
If you can, try to be there for the final inspection instead of treating it like a mystery reveal you hear about three days later by email. Walking through the property with the agent gives you the chance to deal with small issues immediately before they turn into deductions.
Sometimes, what looks like a permanent mark is just dust you can wipe away in a few seconds with a cloth.
Not all agents will point out every single problem during the walkthrough, but many will mention minor issues while you’re there, which gives you the chance to sort them out. That’s usually a far better outcome than getting dragged into a back-and-forth dispute.
Conclusion
Most property managers mean well enough. They just happen to have a superhuman ability to spot a single crumb from three suburbs away.
Luckily, by following this checklist, you’ve made their job so easy that they’ll have nothing left to do but sign off on your refund. So, shake off the Spakfilla dust, walk away with your head high, and enjoy your new home.


 Business Daily Media