Use Heat Shrink Tubing in Your DIY Projects
1. Repairing and Insulating Frayed Wires
Problem: Exposed or damaged wires can lead to short circuits and electrical hazards.
Solution: Slide heat shrink tubing over the damaged area and apply heat to create a secure, insulated covering.
2. Waterproofing Electrical Connections
Problem: Outdoor wiring, marine electronics, and automotive wiring are often exposed to moisture and corrosion.
Solution: Use adhesive lined dual wall heat shrink tubing to create a watertight seal around exposed connections.
3. Organizing and Bundling Cables
Problem: Keeping messy cables under control in computers, home theater systems, and do-it-yourself electronics is challenging.
Solution: Use polyolefin or PTFE heat shrink tubing to neatly bundle cables and reduce clutter.
4. Color Coding Wires and Components
Problem: Identifying wires in DIY electronics, home automation, and audio setups can be confusing.
Solution: Use different color heat shrink tubing to label and differentiate wires for easy identification.
5. Creating Custom Grip Handles
Problem: Tools, sports equipment, and DIY gear often have slippery handles.
Solution: Apply heat shrink tubing over the handles to improve grip and provide a comfortable, no slip surface.
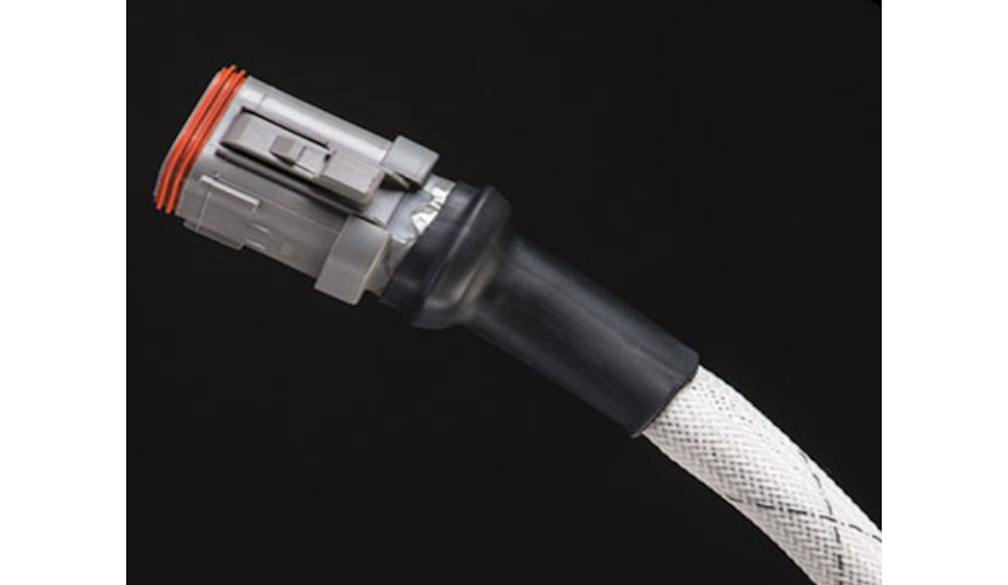
6. Strain Relief for Connectors
Problem: Repeated bending and flexing can weaken solder joints and wire connections.
Solution: Apply heat shrink tubing at connection points to reinforce and protect against wear and tear.
How to Use Heat Shrink Tubing: Step by Step Guide
Step 1: Choose the Right Tubing
- Measure the diameter of the wire or connector.
- Select a shrink ratio (common ratios: 2:1, 3:1, or 4:1) that ensures a snug fit.
- Pick the appropriate material for temperature, moisture, and durability needs.
Step 2: Cut the Tubing to the Right Length
- Use sharp scissors or wire cutters to cut the tubing slightly longer than the area you want to cover.
Step 3: Position the Tubing
- Slide the tubing over the wire, ensuring it covers the area requiring insulation or reinforcement.
Step 4: Apply Heat
- Use a heat gun or hairdryer (for low-heat applications) to apply heat evenly.
- Rotate the wire to ensure uniform shrinkage and avoid overheating.
Step 5: Let It Cool
- Allow the tubing to cool and set, ensuring a tight, durable seal around the wire or connector.
Tips for Preventing Errors in Heat Shrink Tubing
- Using the Incorrect Size: If the tubing is too large, it will fit loosely; if it is too small, it won’t slide over the wires.
- Applying Too Much Heat: Excessive heat can cause burns, melting, or uneven shrinking.
- Forgetting to Position the Tubing Before Soldering: Always slide the tubing onto the wire before making the final electrical connections.
- Using the Wrong Type of Tubing: Adhesive lined tubing is ideal for waterproofing, while standard tubing is suitable for basic insulation.
Heat shrink tubing is a must-have tool for DIYers, providing electrical safety, durability, and a professional finish. Whether you’re repairing damaged wires, waterproofing connections, or organizing cables, heat shrink tubing is an affordable and effective solution for countless projects.
The durability, security, and aesthetics of your do-it-yourself electrical work can all be improved by selecting and installing the proper tubing.